Retouch Shaving Cuts and Redness from Pictures Instantly
You’ve just finished a clean shave and glance in the mirror—only to find those pesky razor bumps and redness greeting you once again. For iPhone users, tackling this issue in photos can feel like a painstaking task. Enter the retouch redness app, your new go-to for transforming irritation-ridden portraits into smooth, flawless keepsakes.
Quick Answer: Save Time and Effort with Instant Results
The retouch redness app is specifically designed to help you quickly and efficiently remove neck irritation and razor bumps from your photos. No more laborious manual edits—just a few taps and you’re done.
Checklist: Preparing to Retouch Neck Irritation
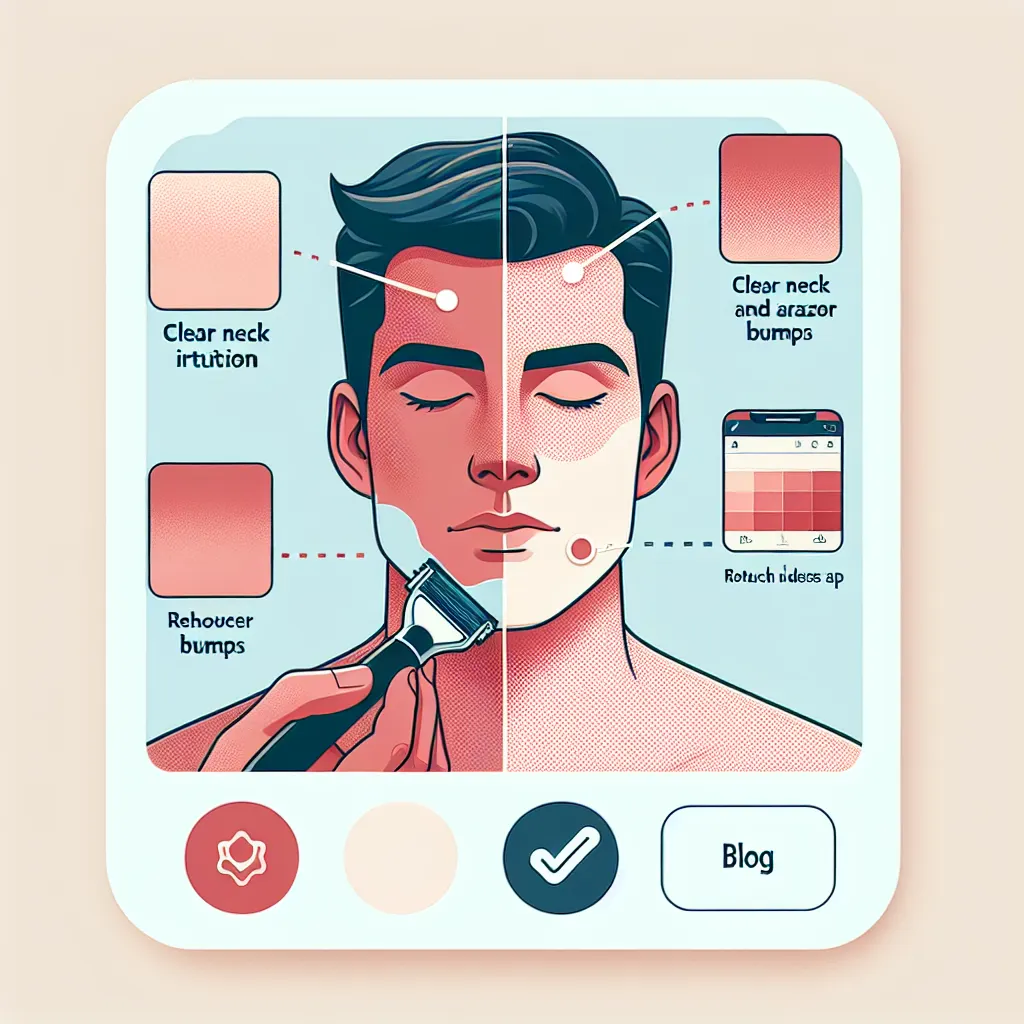
- Download and install Acne Remover – Face Retouch from the .
- Choose a photo that needs retouching.
- Use the app’s intuitive interface to target and smooth out razor bumps and redness.
- Adjust the intensity to achieve a natural look.
Before and After: What to Expect
Before using the app, you might find yourself spending ages tinkering with complicated software or settling for less-than-perfect photos. After using the app, expect:
Tired of doing this the hard way?
The fastest, most automatic way to retouch redness app on your iPhone.
- Instantly smoother neck areas.
- Natural-looking skin tone without the dreaded redness.
- Quick edits that fit seamlessly into your busy schedule.
Comparison: Old Manual Way vs. Fast Acne Remover
| Old Manual Way | Fast Acne Remover – Face Retouch Way |
|---|---|
| Time-consuming manual edits | Quick, tap-based retouching |
| Complex software navigation | Easy, user-friendly interface |
| Inconsistent results | Consistently smooth finishes |
Pro Tips for Best Results
To ensure your photos look their best:
- Start with a well-lit photo for easier edits.
- Use the app’s zoom feature to target specific areas accurately.
- Experiment with different intensity levels to find your perfect balance.
Common Mistakes and How to Avoid Them
- Over-editing: Avoid making your skin look unnatural by using the app’s adjustable intensity feature.
- Ignoring lighting: Good lighting can significantly enhance the end result, so start with a well-lit photo.
- Skipping updates: Ensure the app is up to date to access the latest features and improvements.
Ready to Transform Your Photos?
Why spend hours on manual edits when you can achieve flawless results in seconds? Download Acne Remover – Face Retouch today and say goodbye to razor bump woes in your photos. Get started now!
Extra tips for retouch redness app
If your goal is speed and convenience, an iPhone app workflow is usually the easiest option. Start with the clearest input you can, make one change at a time, and compare the result before saving.
retouch redness app checklist
- Open the image, label, meal, or task you want to process.
- Use one simple app-based workflow from start to finish.
- Review the result before saving or exporting.
- Avoid doing the same task manually if the app can finish it faster.
For a faster mobile workflow, try Acne Remover – Face Retouch on your iPhone.
Why do it manually when an app can do it instantly?
You could spend hours trying to figure out the right settings, cropping, or tracking everything by hand—or you could let Acne Remover – Face Retouch handle it automatically in seconds.
Skip the frustration, save your time, and get perfect results directly on your iPhone.
Frequently Asked Questions
How does the retouch redness app work?
The app uses advanced algorithms to identify and smooth out redness and bumps in photos.
Can I use the app for other blemishes?
Yes, the app is versatile and can retouch various skin imperfections beyond shaving cuts.
2 responses to “Retouch Shaving Cuts and Redness from Pictures Instantly”
[…] Related reading: Retouch Shaving Cuts and Redness from Pictures Instantly […]
[…] Related reading: Retouch Shaving Cuts and Redness from Pictures Instantly […]